 Directory
 Field clearance
Mission Archive
Twelve missions take Malcolm's team from the beach to the helicopter pad. Each starts with the briefing panel shown here. Mission names on this page are the wiki's own; in the game they are just numbered.
- 01 Base Camp
- 02 The Broken Bridge
- 03 Fire and Compys
- 04 Jeep Hunt
- 05 Parasaur Drive
- 06 Hunter Camp
- 07 Mother T-Rex
- 08 The Service Tunnel
- 09 The Brachiosaur Skeleton
- 10 Rescue Eddie
- 11 The InGen Facility
- 12 The Helicopter Pad
- SD San Diego (bonus)
- ++ New missions
Difficulty
The stones on the difficulty screen pick a version of the campaign. Easy and Medium give you more recruit points, more supplies and calmer hunters; Hard is the full game and the only version with Missions 11 and 12. The MODDED build relabels the stones HARD, HUNTED and EXTINCTION: Hunted and Extinction start from Hard with fewer recruit points, a smaller team, the angriest hunters, more spawns and up to twice as many predators. On EXTINCTION eggs are not carried from one mission to the next (upgrades still are).
Mission 1: Base Camp
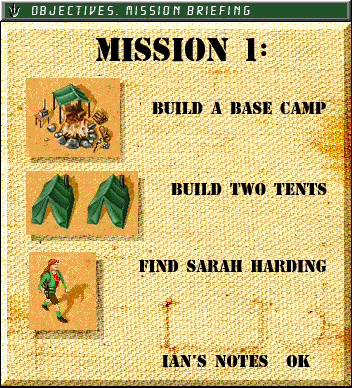
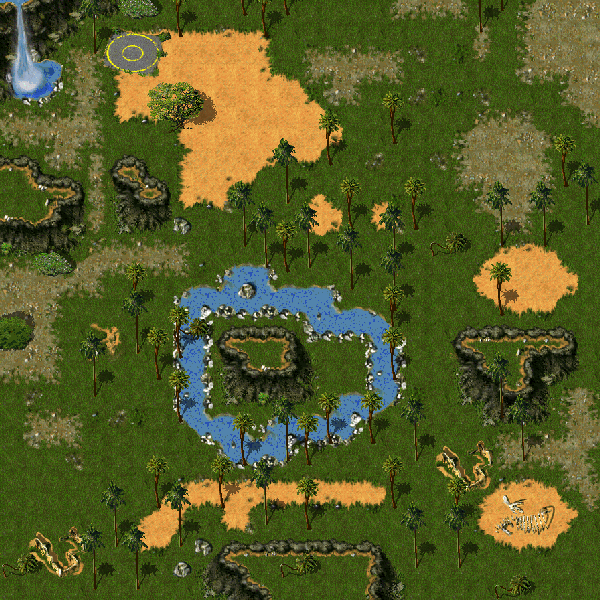
Your first day on Isla Sorna. Explore, set up camp and find Sarah Harding.
Objectives
- You need to build a Base Camp before you can collect supplies.
- You need to build two Tents.
- Find Sarah Harding by exploring the map.
Radio messages
- Move your team members to uncover new parts of the map.
- Once you build a Base Camp you can double click on it to get new team members.
Ian's tips
| Stone | Recruit points | Supplies | Team | Hunters placed |
|---|---|---|---|---|
| Easy | 55 | 23 | 2–5 | 0 |
| Medium | 55 | 23 | 2–5 | 0 |
| Hard | 45 | 23 | 2–4 | 0 |
| Hunted | 36 | 23 | 2–3 | 0 |
| Extinction | 30 | 23 | 2–3 | 0 |
Mission 2: The Broken Bridge
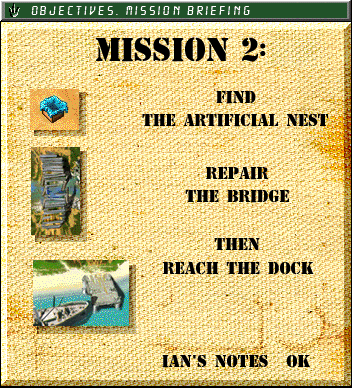
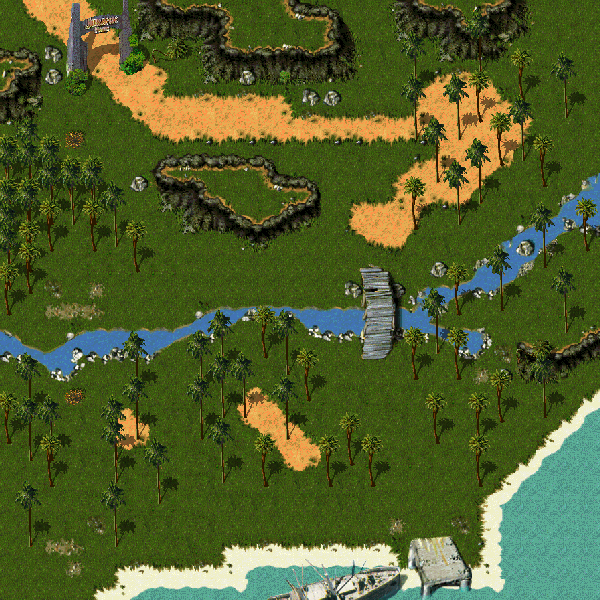
Find the artificial nest, mend the bridge and reach the dock on the far bank.
Objectives
- You need to find the Artificial Nest.
- You need to repair the bridge in order to cross the river.
- You need to get to the dock.
Radio messages
- Try to collect any dinosaur eggs that you find. Eggs that you don't hatch can be used in other levels and will add to your score!
Ian's tips
| Stone | Recruit points | Supplies | Team | Hunters placed |
|---|---|---|---|---|
| Easy | 30 | 35 | 2–3 | 2 |
| Medium | 30 | 25 | 2–3 | 2 |
| Hard | 15 | 25 | 1–3 | 4 |
| Hunted | 15 | 25 | 1–2 | 4 |
| Extinction | 15 | 25 | 1–2 | 4 |
Mission 3: Fire and Compys
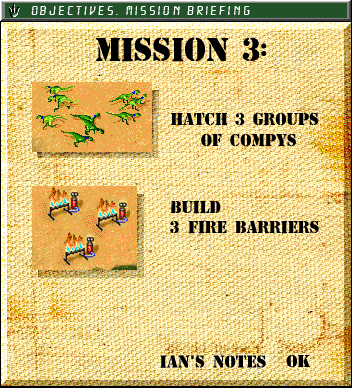
Hold off the wild dinosaurs with fire barriers while you raise a compy army.
Objectives
- You need to build three Fire Barriers.
- You need to find and hatch 3 Compsognathus eggs.
Ian's tips
Equipment
- Damage +1 in a crate
- Carry +1 in a crate
| Stone | Recruit points | Supplies | Team | Hunters placed |
|---|---|---|---|---|
| Easy | 40 | 35 | 2–4 | 4 |
| Medium | 40 | 35 | 2–4 | 6 |
| Hard | 30 | 20 | 2–3 | 6 |
| Hunted | 30 | 20 | 2–2 | 6 |
| Extinction | 30 | 20 | 2–2 | 6 |
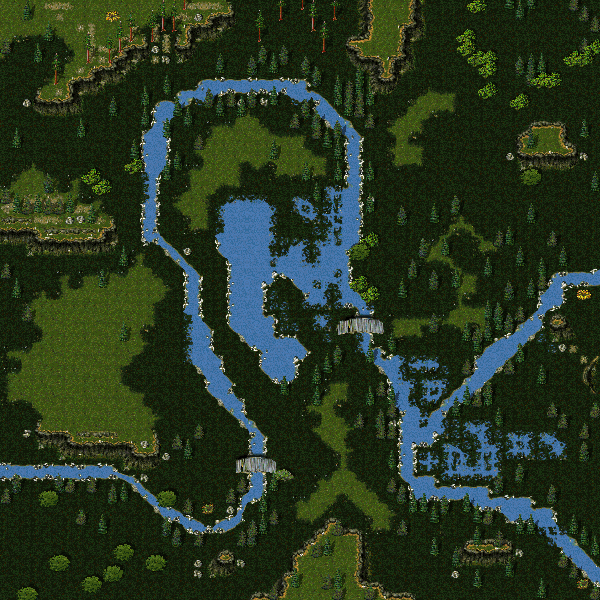
Mission 4: Jeep Hunt
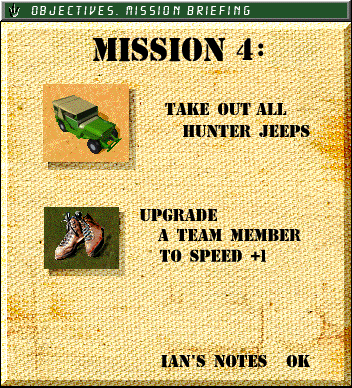
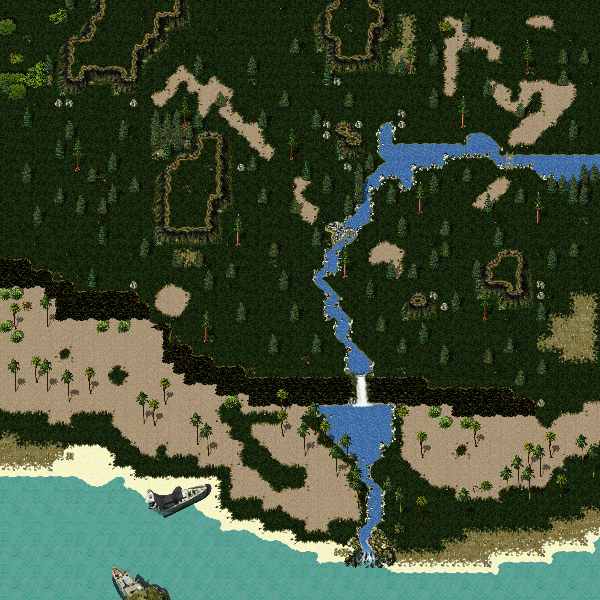
Hunter jeeps are on the island. Destroy every one of them and train up a fast explorer.
Objectives
- You need to destroy all of the hunter jeeps.
- You need to build a Tool Shed in order to get the speed upgrade.
Radio messages
- Try hatching some Dilophosaurs ('spitters') to reach the jeeps across the river
- Double click the Tool Shed to upgrade an explorer's speed.
Ian's tips
Equipment
- Carry +1 in a crate
- Armour +1 in a supply plane drop
| Stone | Recruit points | Supplies | Team | Hunters placed |
|---|---|---|---|---|
| Easy | 45 | 30 | 1–3 | 9 |
| Medium | 45 | 30 | 1–4 | 14 |
| Hard | 35 | 20 | 1–3 | 14 |
| Hunted | 28 | 20 | 1–2 | 14 |
| Extinction | 21 | 20 | 1–2 | 14 |
Mission 5: Parasaur Drive
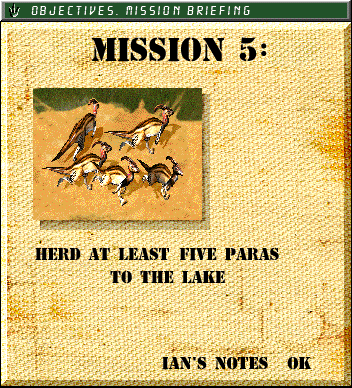
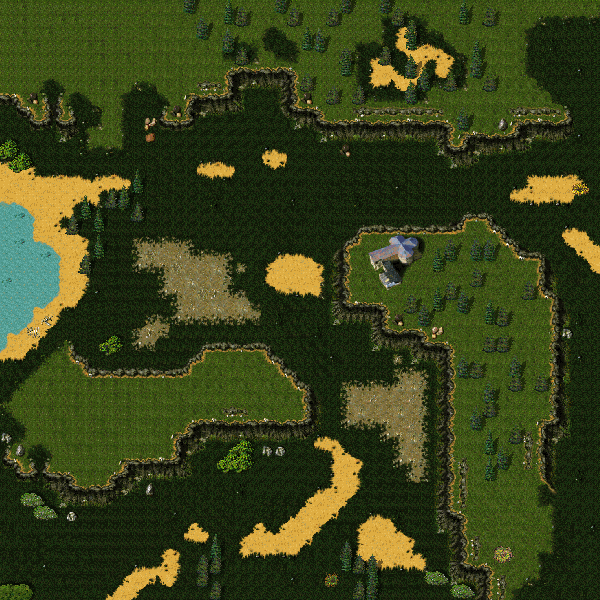
Herd a group of parasaurs safely to the lake.
Objectives
- You need to herd at least 5 Parasaurs to the lake.
- You lose if fewer than five parasaurs are left alive.
Ian's tips
Equipment
- Carry +1 in a crate
- Damage +2 in a supply plane drop
| Stone | Recruit points | Supplies | Team | Hunters placed |
|---|---|---|---|---|
| Easy | 50 | 40 | 1–5 | 7 |
| Medium | 50 | 40 | 1–5 | 8 |
| Hard | 40 | 30 | 1–4 | 8 |
| Hunted | 32 | 30 | 1–3 | 8 |
| Extinction | 24 | 30 | 1–3 | 8 |
Mission 6: Hunter Camp
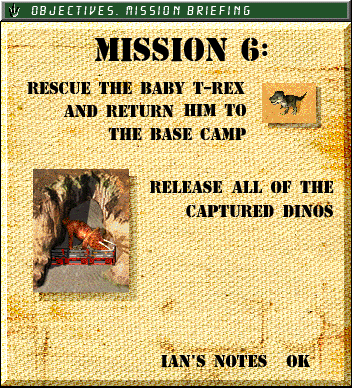
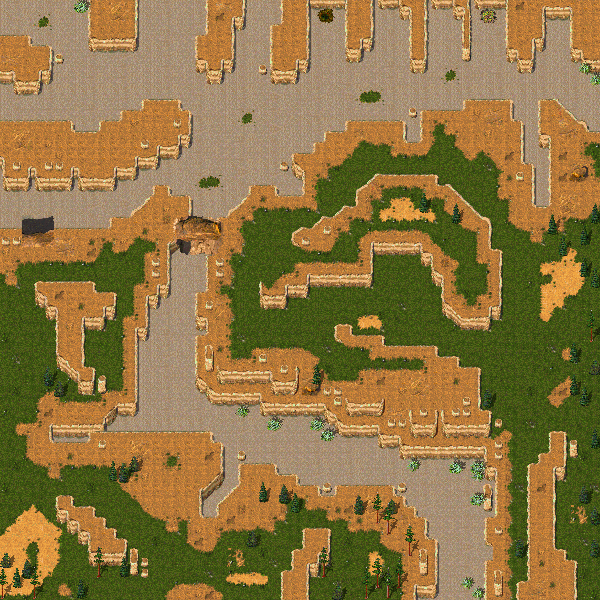
No building allowed. Steal back the baby T-Rex and free the captured dinosaurs.
Objectives
- You need to retrieve the baby T-Rex from Hunter Camp and return it to your Base Camp.
- You need to free all four of the captured dinosaurs in the Hunter Camp.
- You lose if a captive dinosaur is killed.
- Setting off the TNT at the rock bridge kills whoever is standing on it.
Radio messages
- You cannot build any new structures during this mission.
- Free the trapped dinosaurs by attacking the fences that contain them.
- Try using the TNT plunger to clear blocked passageways.
Ian's tips
Equipment
- Carry +2 in a crate
- Vision +2 in a crate
| Stone | Recruit points | Supplies | Team | Hunters placed |
|---|---|---|---|---|
| Easy | 55 | 0 | 1–5 | 7 |
| Medium | 45 | 0 | 1–4 | 9 |
| Hard | 35 | 0 | 1–3 | 10 |
| Hunted | 28 | 0 | 1–2 | 10 |
| Extinction | 21 | 0 | 1–2 | 10 |
Mission 7: Mother T-Rex
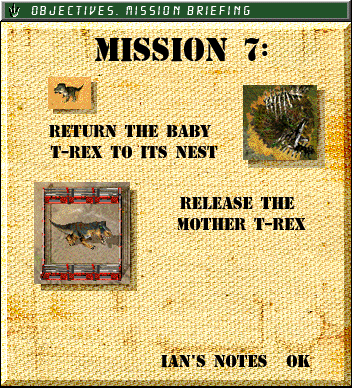
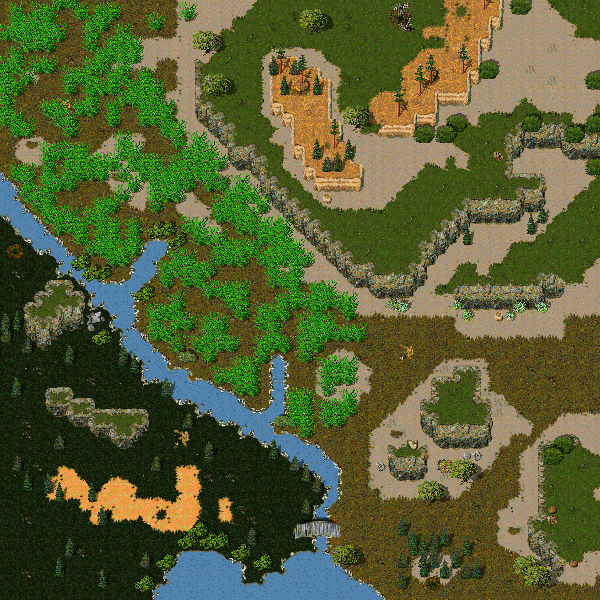
Take the baby T-Rex home and release its mother.
Objectives
- You need to return the baby T-Rex to its nest.
- You need to free the mother T-Rex.
- You lose if a wild T-Rex dies while the mother is still caged.
Radio messages
- Try using the High-Hides to protect your team members.
Ian's tips
Equipment
- Speed +2 in a crate
- Damage +2 in a crate
| Stone | Recruit points | Supplies | Team | Hunters placed |
|---|---|---|---|---|
| Easy | 60 | 60 | 1–6 | 8 |
| Medium | 60 | 50 | 1–6 | 10 |
| Hard | 50 | 40 | 1–5 | 10 |
| Hunted | 40 | 40 | 1–4 | 10 |
| Extinction | 30 | 40 | 1–4 | 10 |
Mission 8: The Service Tunnel
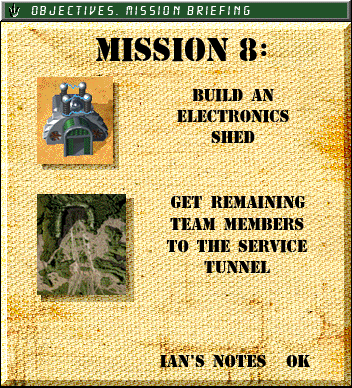
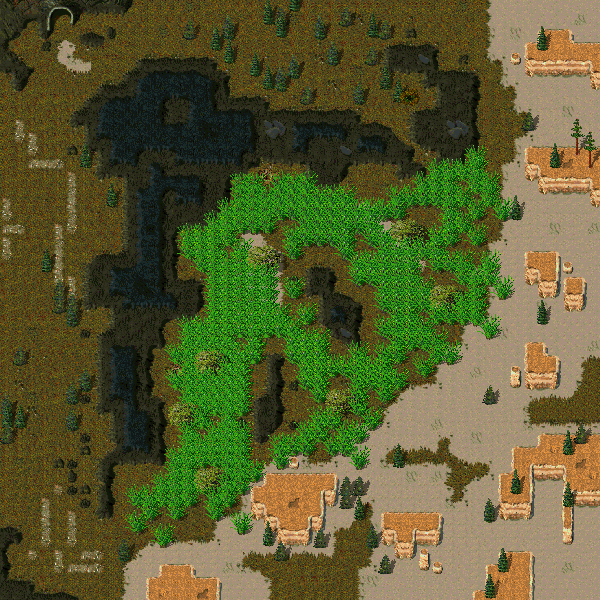
Upgrade your camp, build an Electronics Shed and get the whole team to the tunnel.
Objectives
- You need to build an Electronics Shed.
- Once you have an Electronics Shed, you need to get all remaining team members to the service tunnel.
Radio messages
- The Electronics Shed can be built once you have upgraded your Base Camp.
- Two Triceratops are a good match for one hunter tank.
Ian's tips
Equipment
- Carry +2 in a crate
- Armour +2 in a crate
| Stone | Recruit points | Supplies | Team | Hunters placed |
|---|---|---|---|---|
| Easy | 90 | 60 | 1–9 | 10 |
| Medium | 80 | 40 | 1–8 | 11 |
| Hard | 70 | 40 | 1–7 | 12 |
| Hunted | 56 | 40 | 1–6 | 12 |
| Extinction | 42 | 40 | 1–6 | 12 |
Mission 9: The Brachiosaur Skeleton
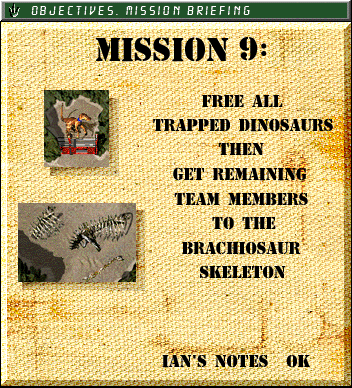
Seven dinosaurs are trapped. Free them all, then gather the team at the skeleton.
Objectives
- You need to free all seven of the trapped dinosaurs.
- You need to get all remaining team members to the Brachiosaur skeleton.
Ian's tips
| Stone | Recruit points | Supplies | Team | Hunters placed |
|---|---|---|---|---|
| Easy | 120 | 0 | 1–12 | 5 |
| Medium | 120 | 0 | 1–12 | 6 |
| Hard | 120 | 0 | 1–12 | 6 |
| Hunted | 96 | 0 | 1–11 | 6 |
| Extinction | 72 | 0 | 1–11 | 6 |
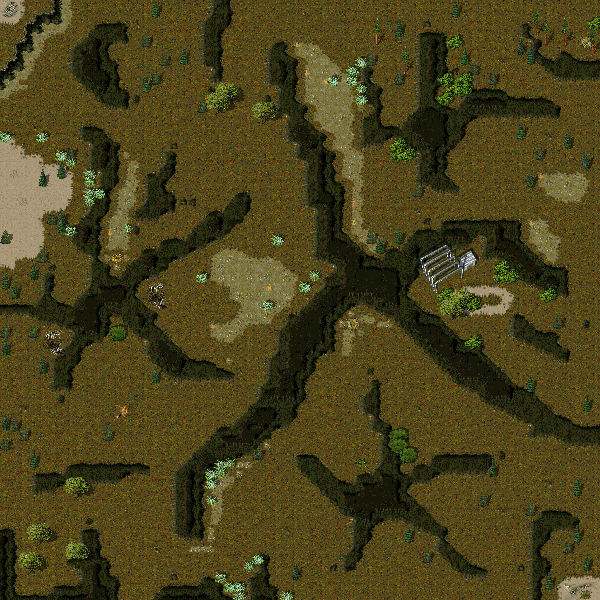
Mission 10: Rescue Eddie
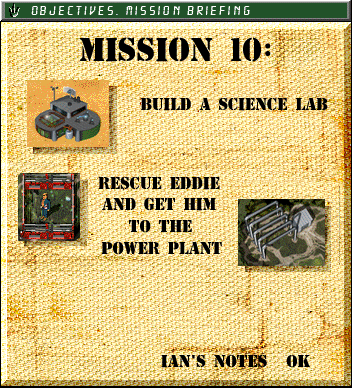
Eddie is a prisoner in the hunters' camp. Free him, build a Science Lab and get him to the power plant.
Objectives
- You need to rescue Eddie from the hunter's camp.
- You need to build a Science Lab.
- You need to get Eddie safely to the power plant.
- You lose if Eddie dies.
Radio messages
- The Science Lab can be built once you have an Electronics Shed.
Ian's tips
Equipment
- Damage +2 in a crate
| Stone | Recruit points | Supplies | Team | Hunters placed |
|---|---|---|---|---|
| Easy | 120 | 60 | 1–12 | 8 |
| Medium | 100 | 30 | 1–10 | 11 |
| Hard | 90 | 30 | 1–9 | 12 |
| Hunted | 72 | 30 | 1–8 | 12 |
| Extinction | 54 | 30 | 1–8 | 12 |
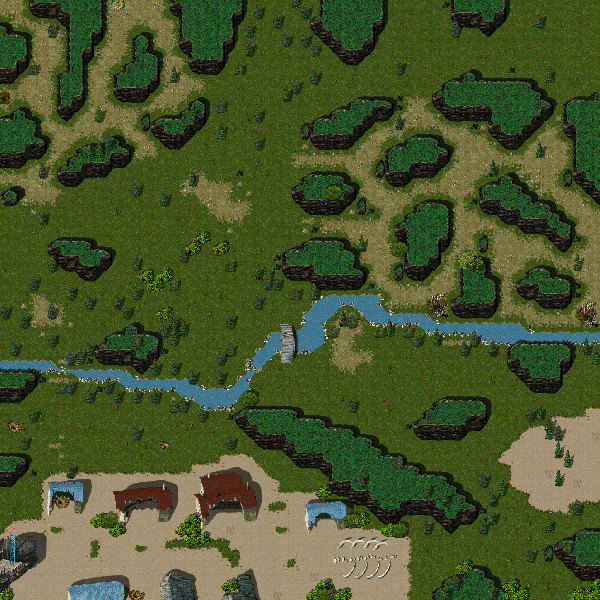
Mission 11: The InGen Facility
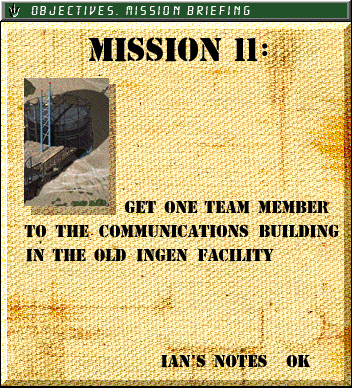
Fight across the island and get a team member into the InGen facility.
Objectives
- Goal: one of your team reaches the InGen facility.
- Only on Hard: there is no Easy or Medium version.
Ian's tips
Equipment
- Armour +2 in a crate
| Stone | Recruit points | Supplies | Team | Hunters placed |
|---|---|---|---|---|
| Hard | 100 | 30 | 1–10 | 14 |
| Hunted | 80 | 30 | 1–9 | 14 |
| Extinction | 60 | 30 | 1–9 | 14 |
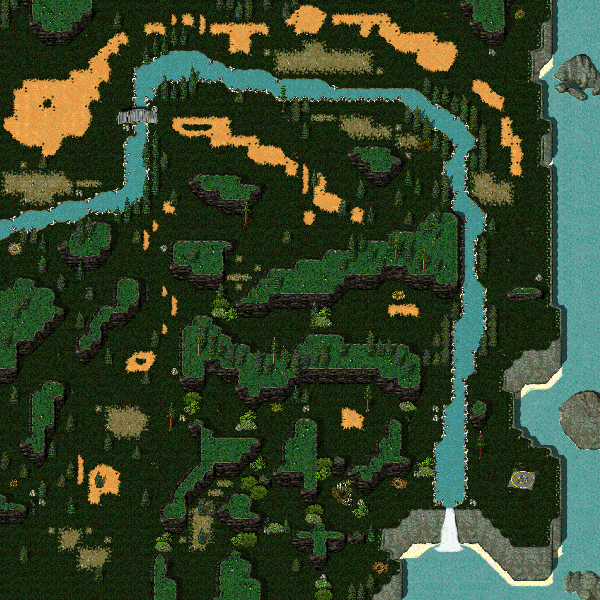
Mission 12: The Helicopter Pad
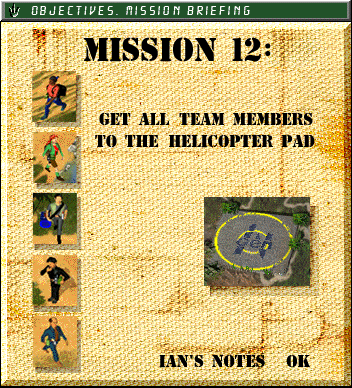
The final mission. Your five named team members, no recruits, the whole island against you. Reach the helicopter.
Objectives
- Goal: get your team to the helicopter pad.
- You lose if a named team member dies.
- The hunters have rigged TNT along the way. You can set it off yourself.
- Only on Hard.
Ian's tips
| Stone | Recruit points | Supplies | Team | Hunters placed |
|---|---|---|---|---|
| Hard | 0 | 30 | 1–1 | 28 |
| Hunted | 15 | 30 | 1–1 | 28 |
| Extinction | 15 | 30 | 1–1 | 28 |
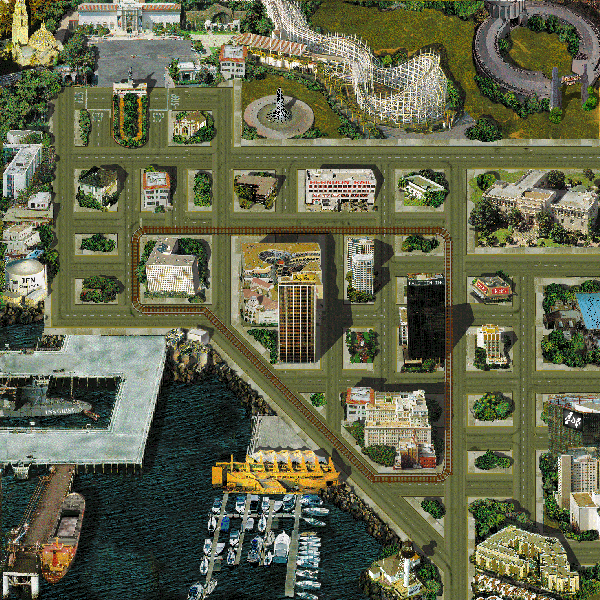
Bonus: San Diego
Click the skull on the main menu. This time you are the T-Rex, loose in the streets of San Diego.
- Get the T-Rex to the goal zone.
- You lose if the T-Rex dies.
- Hunter jeeps patrol the streets, and a trolley sounds its horn at its stops and drops off scouts (with Research Assistant stats, 12 HP). Attacks do nothing to the trolley.
- The hunter tents here are hot dog stands: each bite on one heals the T-Rex 50 HP.
New missions
These come with the MODDED build (choose MODDED on the launcher, then Load Game → Level select). They were made with this project's mission tools.
Raptor Valley
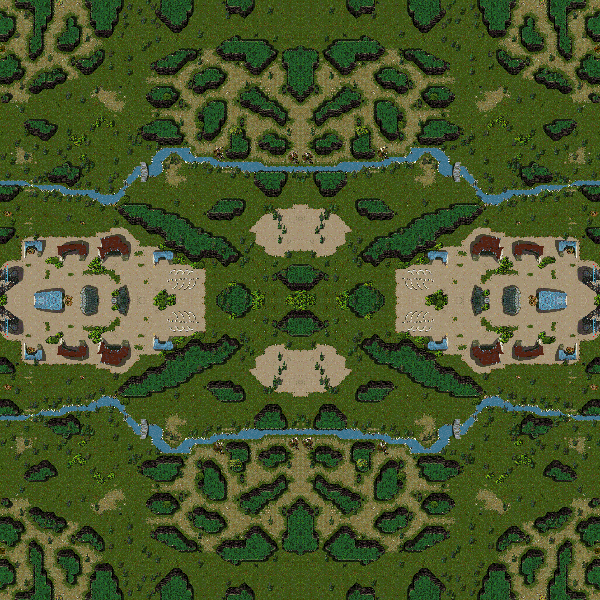
A 28x28 valley cut from Mission 7's land: raptors, compys, a dilo and parasaurs. Build a Base Camp and two Tents, and reach Sarah.
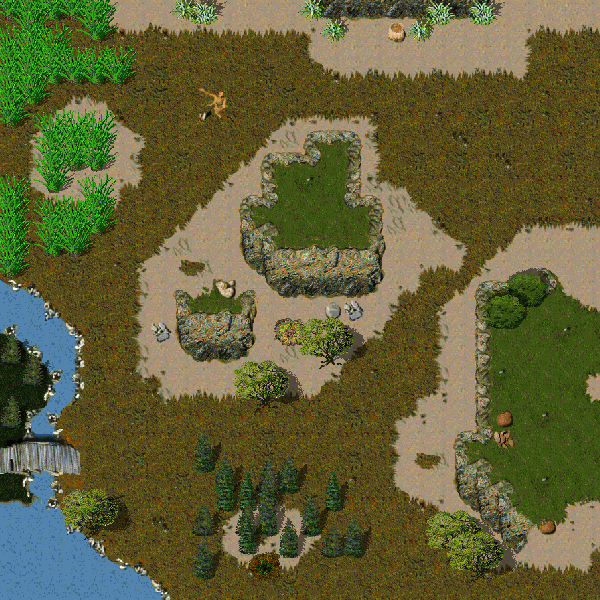
Stego Ridge
A 40x40 ridge from Mission 4. Build a Base Camp and two Tents, and reach Sarah; the crates on the way are optional.
Equipment: Armour +2 (crates).
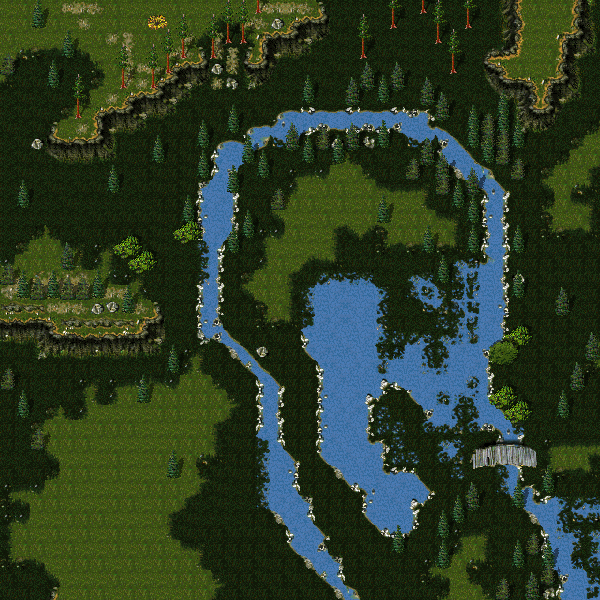
Dock Dash
Mission 2's riverbank mirrored into a 56x56 map. Get anyone to the goal zone.
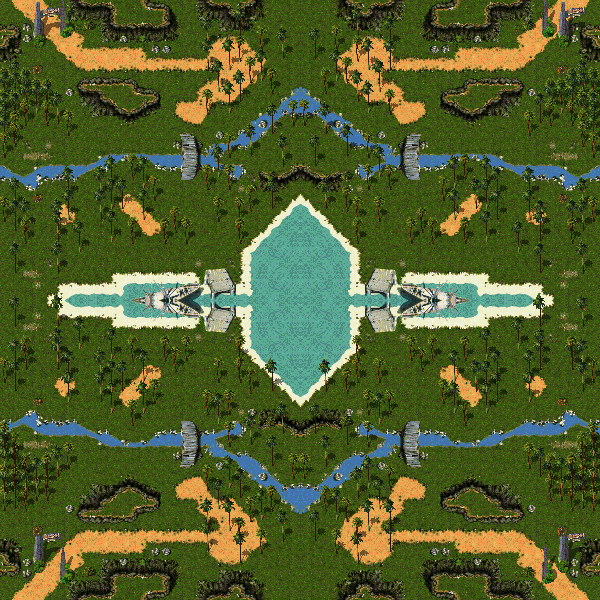
Sorna Crossing (96)
A 96x96 cut of the big map below, for when 128 is too much. Build a Base Camp and two Tents, and reach Sarah.
Equipment: Carry +2, Armour +2, Speed +2 (crates).
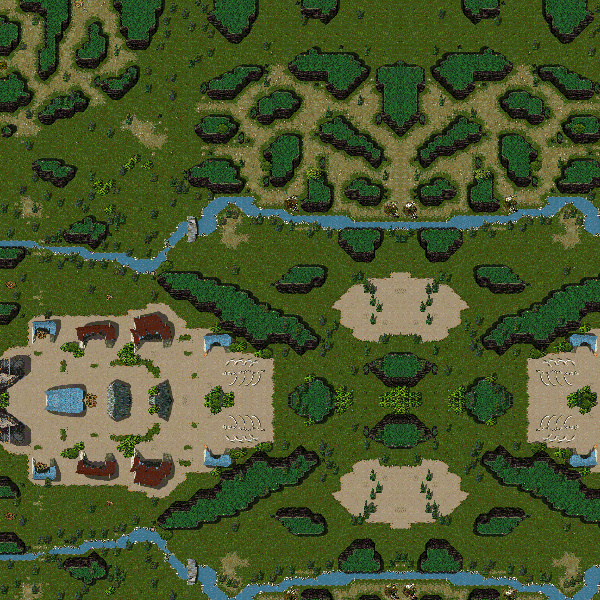
Sorna Crossing (128)
Mission 11's land mirrored into a 128x128 map, four times bigger than any retail map. Raptor packs, two T-Rexes and hunters that keep coming. Build a Base Camp and two Tents, and reach Sarah.
Equipment: Carry +2, Armour +2, Speed +2 (crates).